Getting the right window coverings for your home starts with one critical step: accurate measurements. Whether you’re upgrading your entire home or just refreshing a few rooms, knowing how to measure your windows correctly is essential to ensuring your new blinds fit perfectly. At BIDY Blinds, we understand that improper measurements are one of the most common reasons for installation issues, so we’ve created this comprehensive guide to help you get it right the first time.
Why Accurate Measurements Matter
Before diving into the “how,” let’s talk about the “why.” Precision in window measurements isn’t just about aesthetics—it directly impacts the functionality of your window coverings. Blinds that are too large won’t fit in the window frame, while those that are too small will leave unsightly gaps that allow light to seep through. Beyond these practical concerns, accurate measurements ensure that your blinds operate smoothly, stack properly, and deliver the exact light control and privacy you’re looking for.
At BIDY Blinds, we’ve helped thousands of customers install everything from Roman Shades to Vertical Blinds, and the key to every successful installation begins with proper measurement.
What You’ll Need to Get Started
Gather these tools before you begin measuring:
- A steel measuring tape (at least 25 feet long)
- A notepad or digital device to record measurements
- A pencil or stylus
- A level (optional, but helpful for ensuring accuracy)
- The window’s specific details (frame type, existing hardware, etc.)
Having these items ready will make the process smoother and help you avoid mistakes.
Understanding Your Window Frame
Before you measure, you need to understand your window frame. Most windows fall into one of two categories: flush frames (where the glass sits flush with the interior frame) or protruding frames (where the frame extends into the room). This distinction matters because it determines whether you’ll choose an inside mount or outside mount for your blinds.
An inside mount installation places the blinds inside the window frame, creating a clean, streamlined look. An outside mount is placed on the wall or trim outside the window opening, which can make windows appear larger and is often necessary if your windows have deep frames or hardware obstructions.
Understanding this early will inform how you take your measurements and which type of window coverings will work best for your space.
Step-by-Step Measurement Guide
Step 1: Measure the Width
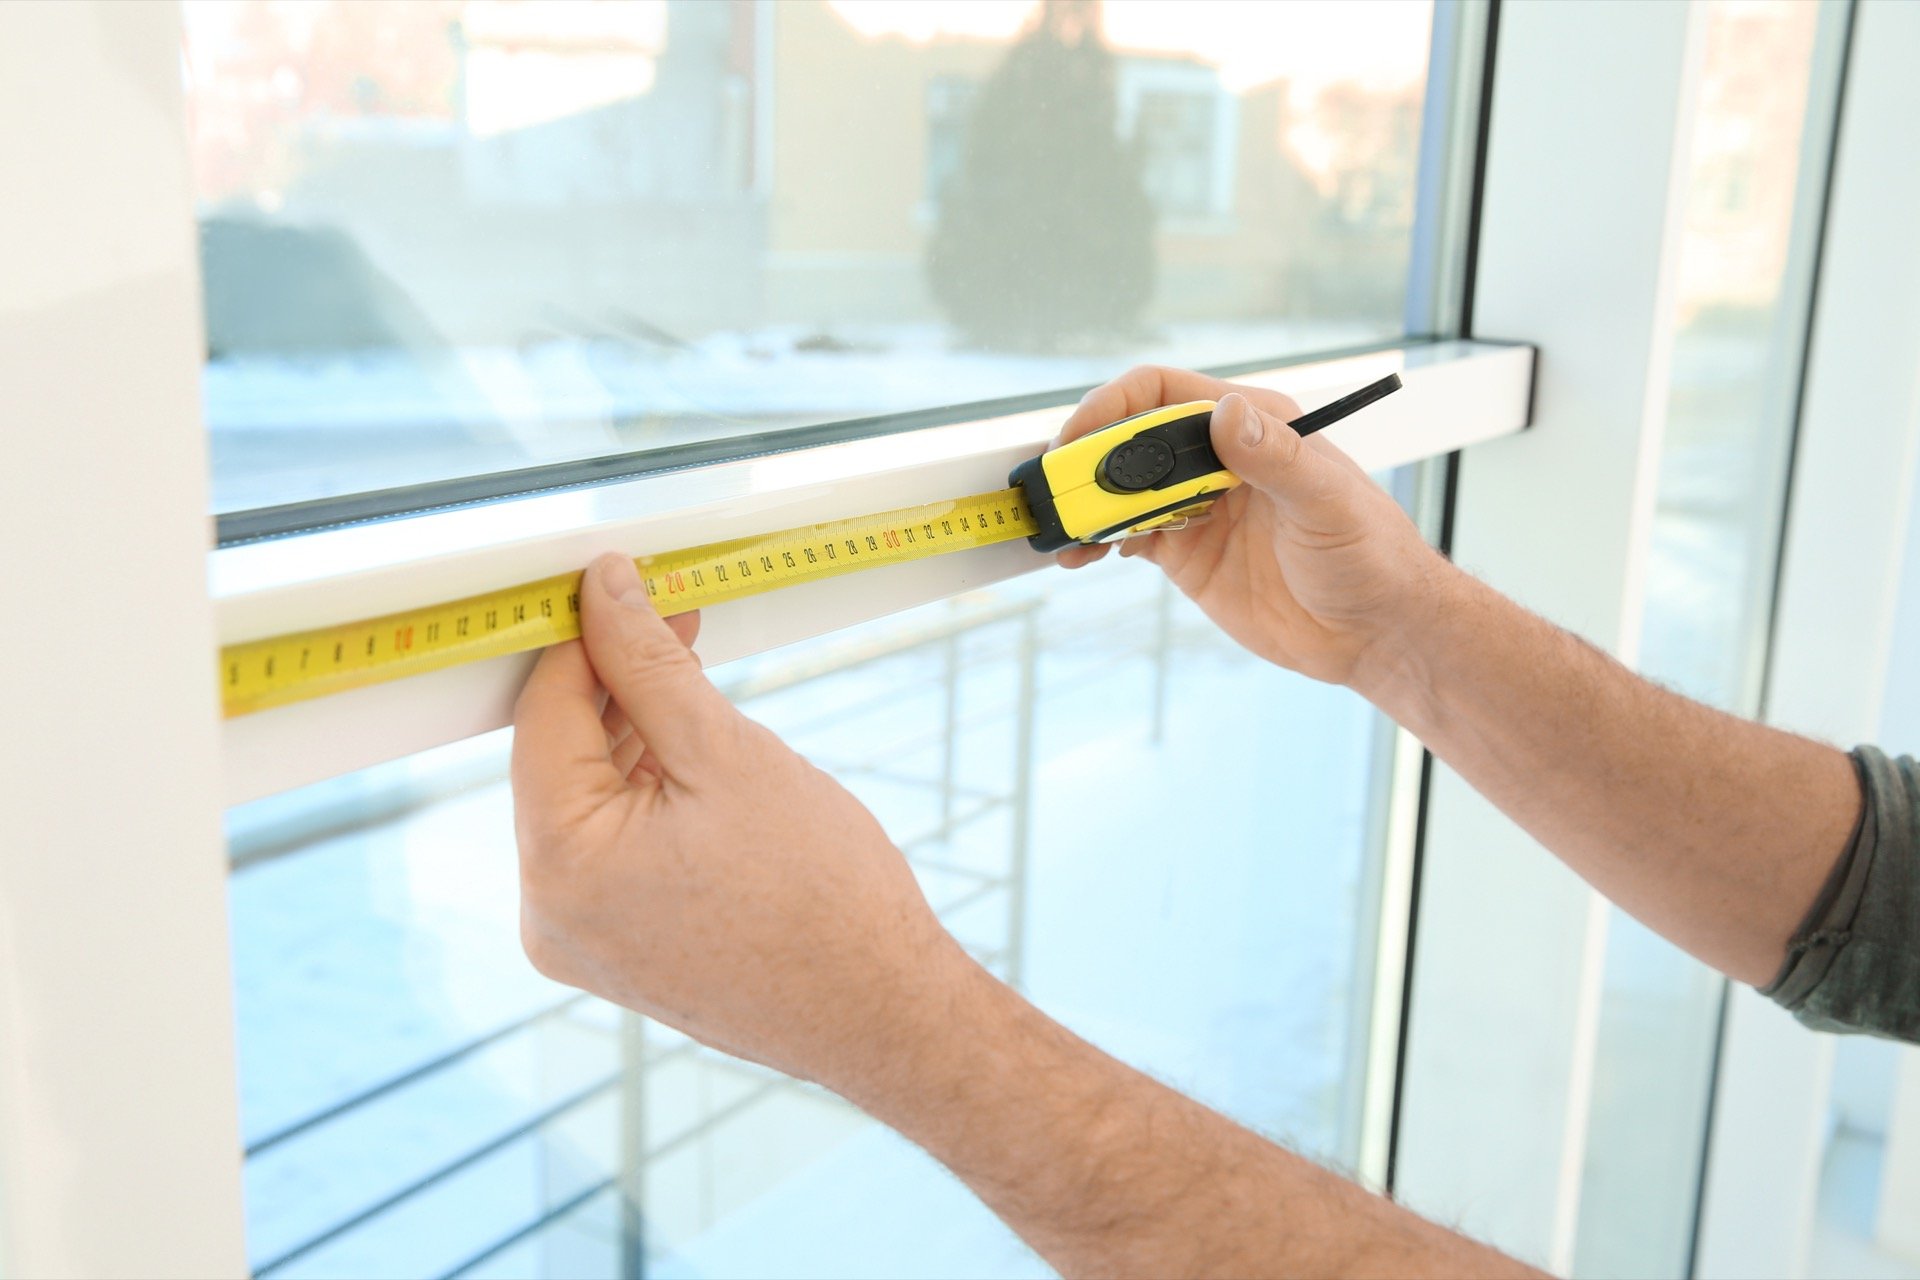
Start with the width of your window. For an inside mount, measure the inside width of your window frame at three different heights: top, middle, and bottom. Windows aren’t always perfectly square, so taking multiple measurements is crucial.
Pro tip: Use the smallest measurement of the three. If the top width is 36 inches, the middle is 36.5 inches, and the bottom is 36 inches, use 36 inches to ensure your blinds fit properly inside the frame.
For an outside mount, measure the width of the wall or trim area where you want to install your blinds, adding 1.5 to 2 inches on each side for proper light blocking.
Step 2: Measure the Height
Similar to width, measure the height of your window at three different points: left, center, and right. Again, take the smallest measurement.
For an inside mount, measure from the top of the frame down to the sill. For an outside mount, measure from where you want the top of the blind to be positioned down to where you want the bottom to end.
Important consideration: If you’re planning to install Cellular Honeycomb Shades or Roman Shades, the height measurement is particularly important because these styles have specific stacking heights and operating mechanisms.
Step 3: Check for Obstructions
Before finalizing your measurements, check for any obstructions that might interfere with your blind installation. Common obstacles include:
- Window handles or cranks
- Air conditioning units
- Radiators
- Shelving or furniture
- Architectural trim or molding
These obstructions might necessitate an outside mount or influence which type of blind will work best. For example, Roller Shades and Sheer Roller Shades are excellent options when you have limited depth in your window frame.
Step 4: Verify Your Measurements
Double-check each measurement twice. Have another person verify your work if possible. It might seem tedious, but catching errors at this stage saves time and frustration later. Record all measurements in inches, rounded to the nearest eighth of an inch for precision.
Step 5: Account for Window Irregularities
Some windows have irregular shapes due to age, settling, or architectural design. If you have an older home or uniquely shaped windows, measure any angled or curved sections separately. For bay windows or specialty installations, consider measuring each section individually rather than as one unit.
Special Considerations for Different Blind Types
Different window covering styles have unique measurement requirements. Here’s what to keep in mind for popular BIDY Blinds options:
For Cellular Shades and Honeycomb Shades
Cellular Honeycomb Shades and Cellular Shades have specific stacking heights. When fully raised, they take up space at the top of your window. Make sure to account for this space in your height measurements, especially if you want to maintain access to windows or if there’s trim work above the window.
For Roman Shades
Roman Shades require careful height measurement because their folds stack at the top when raised. Consider the visual balance you want—many people prefer Roman Shades to fall just to the windowsill, while others like them to extend slightly below.
For Vertical Blinds
Vertical Blinds are measured from the track width, not the glass. Ensure you measure to the outer edges of where you want the track to be positioned, particularly if you’re doing an outside mount.
For Window Shutters
Window Shutters are often custom-built to your exact specifications. Precise measurements are absolutely critical for shutters because they’re typically not adjustable once installed. Measure each shutter opening individually, as multiple windows in one wall might have slight variations in size.
For Sheer and Shading Solutions
Sheers & Shading options like Sheer Roller Shades combine light filtering with stylish aesthetics. Measure these as you would standard roller shades, but consider whether you want them to extend from the top of the window frame to the sill for a modern look or extend beyond the frame for a more dramatic effect.
Common Measuring Mistakes to Avoid
Learning what not to do is just as important as knowing what to do. Here are the most common mistakes we see:
Rounding measurements too much: Rounding 36.75 inches down to 36 inches might seem safe, but it can create gaps. Round to the nearest eighth of an inch instead.
Measuring only once: Windows are rarely perfectly square. Always measure at multiple points to catch irregularities.
Forgetting about the depth: Ensure your window frame is deep enough to accommodate the blind’s hardware and operation mechanisms. This is especially important for inside mounts.
Not considering existing hardware: If your window already has handles, locks, or hinges, make sure your blinds won’t interfere with them or block necessary access.
Ignoring ceiling and floor clearance: On outside mounts, ensure there’s enough space between your blinds and any ceiling trim or baseboard molding.
Measuring in different units: Stick to one measurement system (inches and eighths are standard). Avoid mixing inches and metric measurements.
How to Record Your Measurements
Develop a systematic method for recording your measurements to stay organized, especially if you’re measuring multiple windows. Create a simple chart or use a smartphone app to document:
- Room name and window location
- Width measurements (top, middle, bottom)
- Height measurements (left, center, right)
- Mount preference (inside or outside)
- Any obstructions or special considerations
- Photos of the window (helpful for reference)
Taking photos from different angles can help you remember the exact layout and any challenges you encountered during measurement.
When to Call the Professionals
While measuring windows is something most homeowners can do successfully, there are situations where professional measurement is worth the investment. If you have:
- Unusually shaped or custom windows
- Multiple problem areas with obstructions
- Complex installations requiring custom configurations
- Specialty windows like skylights or arched windows
- High-value installations where mistakes would be costly
The BIDY Blinds team is ready to help. Our experienced professionals can visit your home, take precise measurements, and recommend the best window covering solutions for your specific needs and aesthetic preferences.
Final Thoughts
Measuring your windows correctly is the foundation of a successful blind installation. By following this comprehensive guide and taking your time with each step, you’ll ensure that your BIDY Blinds fit perfectly and function beautifully for years to come.
Whether you’re interested in classic Roman Shades, modern Roller Shades, energy-efficient Cellular Honeycomb Shades, or sophisticated Window Shutters, proper measurements ensure you get the perfect fit every time.
Ready to transform your windows? Contact BIDY Blinds today to discuss your window covering needs, or take your measurements and reach out with your dimensions. We’re here to help you find the ideal solutions for every window in your home.